Connecting to Apps and Services
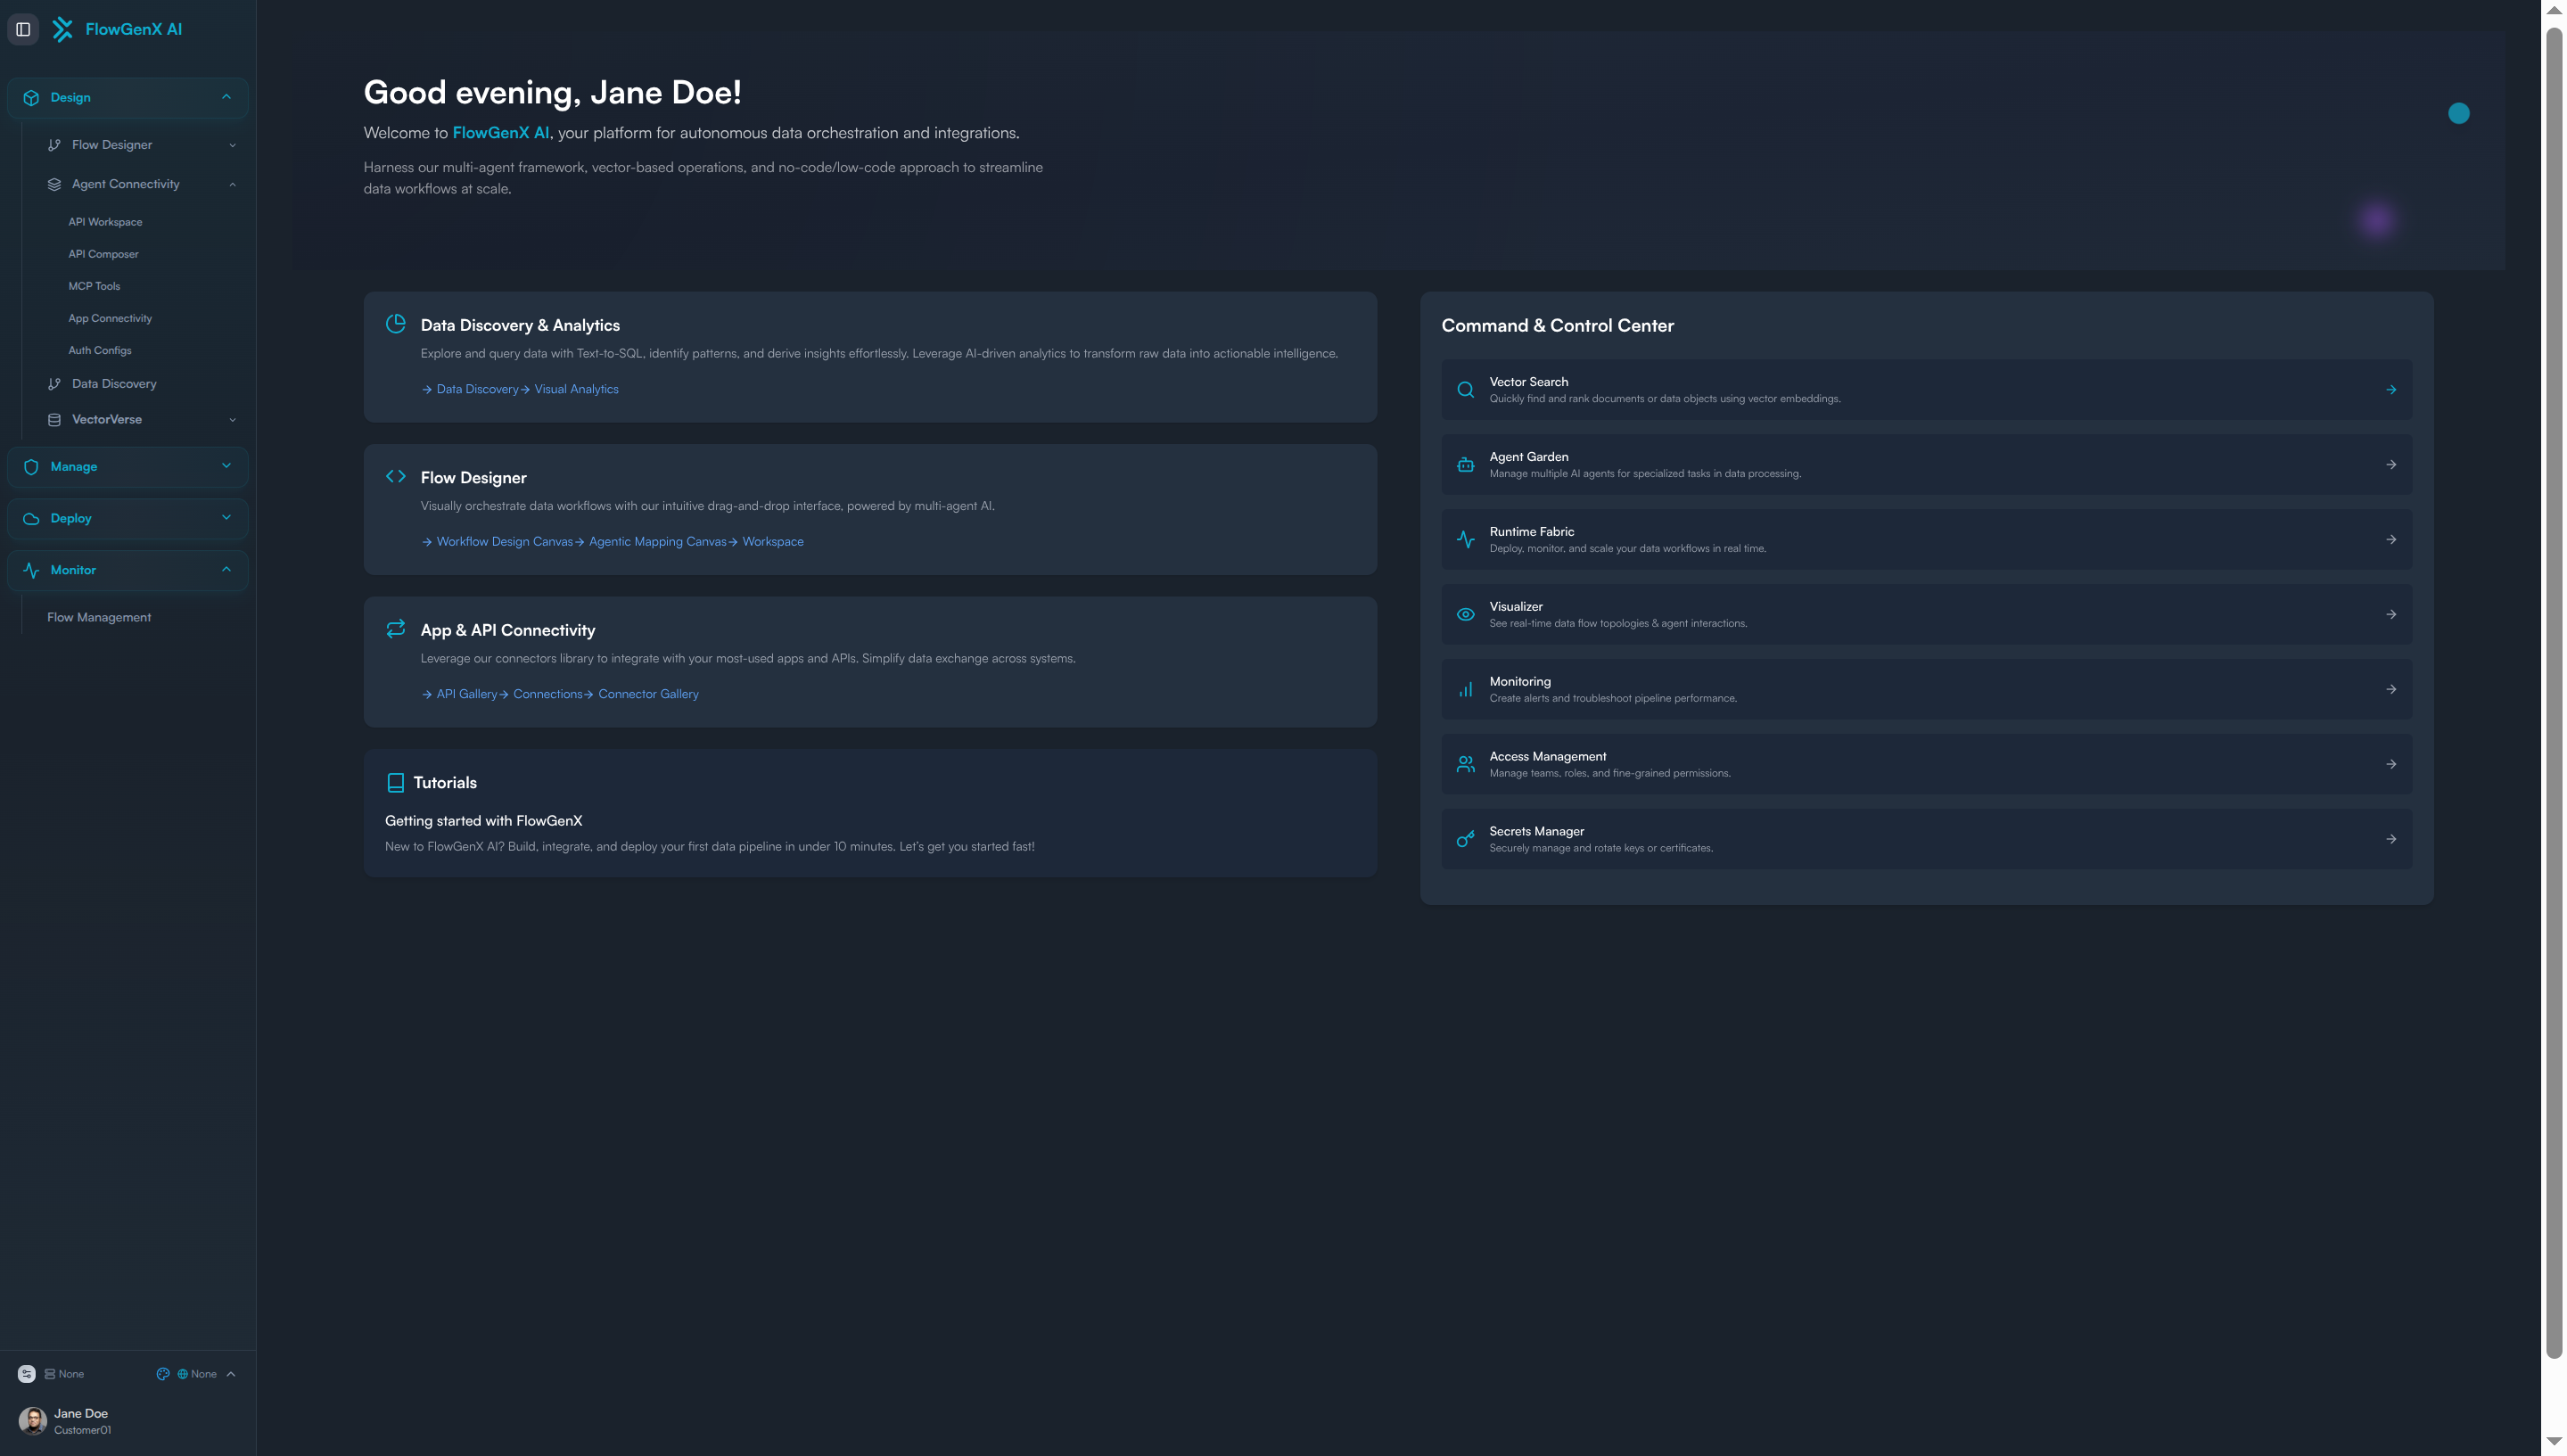
FlowGenX AI provides seamless connectivity to hundreds of applications and services through its robust authentication system. This guide walks you through the process of establishing secure connections to external systems using the Agent Connectivity interface.
Overview
The Agent Connectivity module enables you to create and manage authentication configurations for various third-party services, APIs, and applications. These configurations serve as secure gateways for your AI agents to interact with external systems while maintaining enterprise-grade security standards.
Prerequisites
Before creating connections, ensure you have:
- Active FlowGenX AI account with appropriate permissions
- Access to the target application/service credentials
- Understanding of the authentication method required by the target service
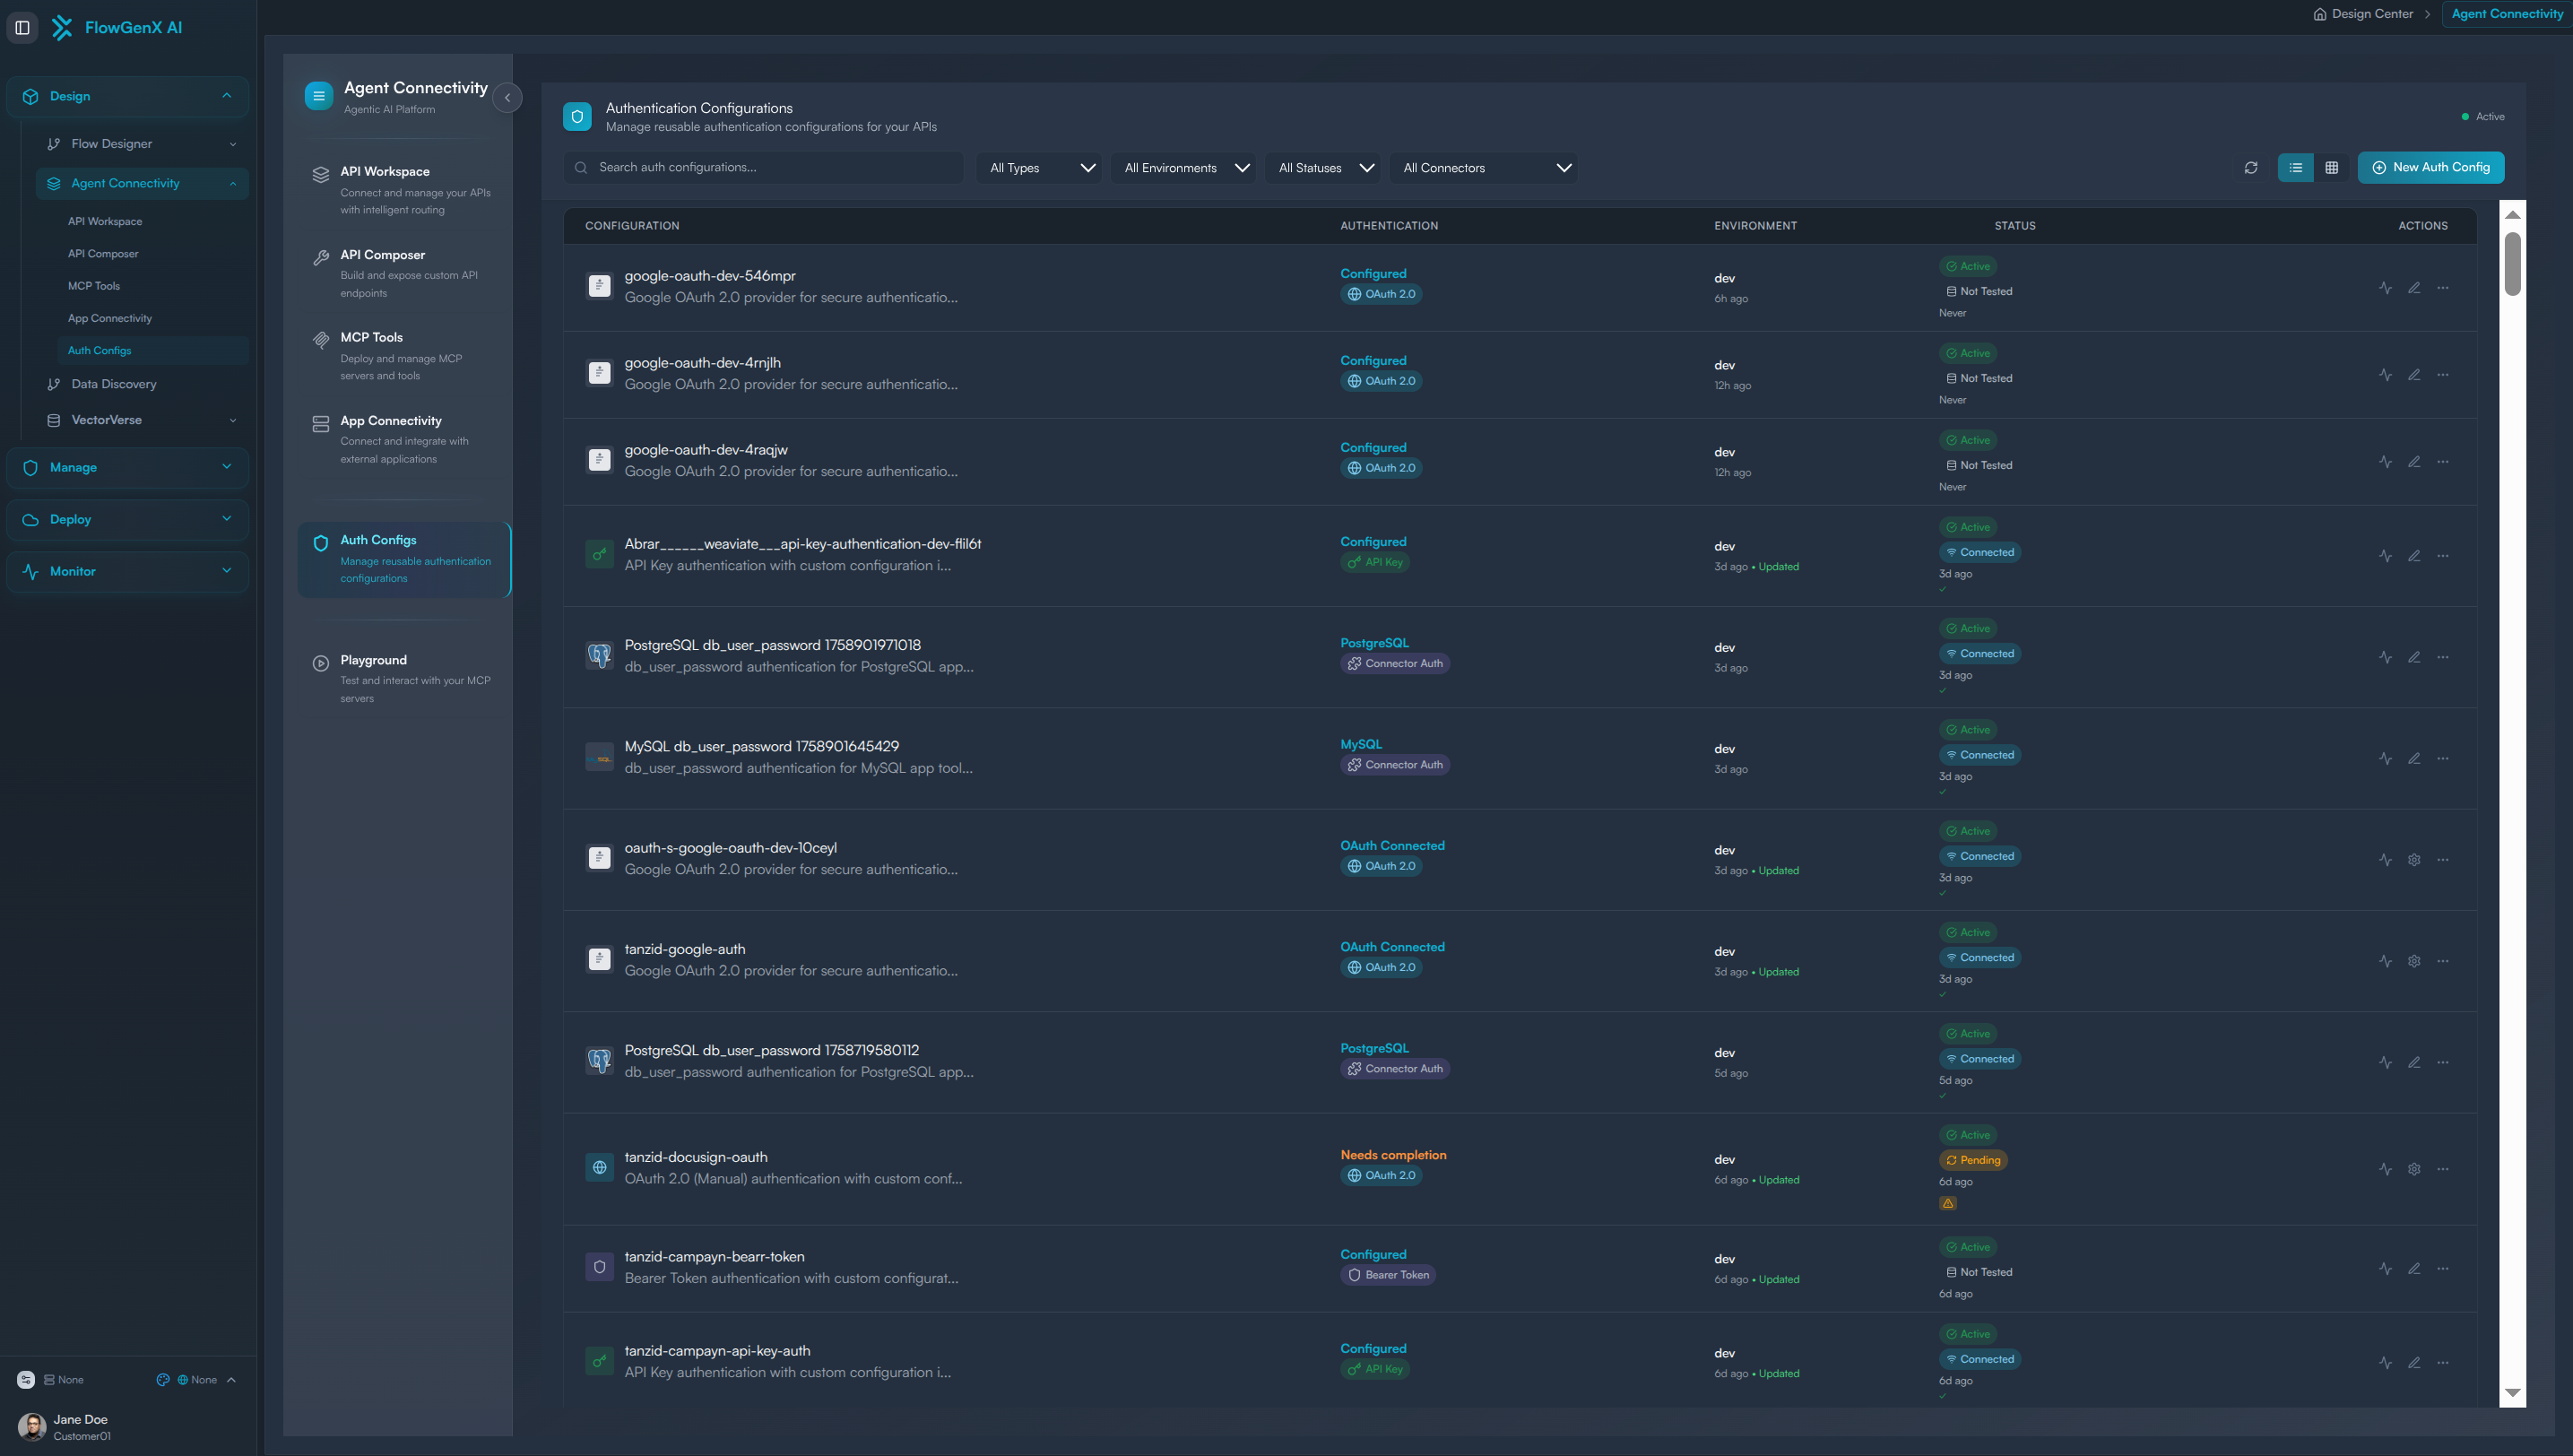
Accessing Agent Connectivity
- Navigate to the Agent Connectivity section under Design in the left sidebar
- Select Auth Configs from the available options
The Auth Configs interface displays all existing authentication configurations for providers you have previously configured, organized by environment and connection type.
Creating a New Authentication Configuration
Step 1: Initiate Configuration Creation
- In the Auth Configs interface, locate the "New Auth Config" button in the top-right corner of the window
- Click the button to open the authentication configuration dialog on the right side of the interface
Step 2: Environment Selection
First, specify the environment where your connection will operate:
- Development (dev): For testing and development workflows
- Staging: For pre-production testing and validation
- Production: For live, production-ready integrations
⚠️ Important: Choose the appropriate environment as this affects security policies, rate limits, and data access permissions.
Step 3: Connector Type Selection
After selecting your environment, choose from the following connector types:
Auth Connector
Use enterprise-grade connectors with built-in authentication mechanisms for:
- Enterprise applications (SAP, Salesforce, ServiceNow)
- Complex authentication flows
- Custom enterprise protocols
OAuth 2.0 Provider
Connect to popular OAuth-enabled services:
- Social Platforms: Google, Microsoft, Facebook, LinkedIn
- Development Tools: GitHub, GitLab, Bitbucket
- Business Applications: Slack, Dropbox, Zoom
- Cloud Services: AWS, Azure, GCP
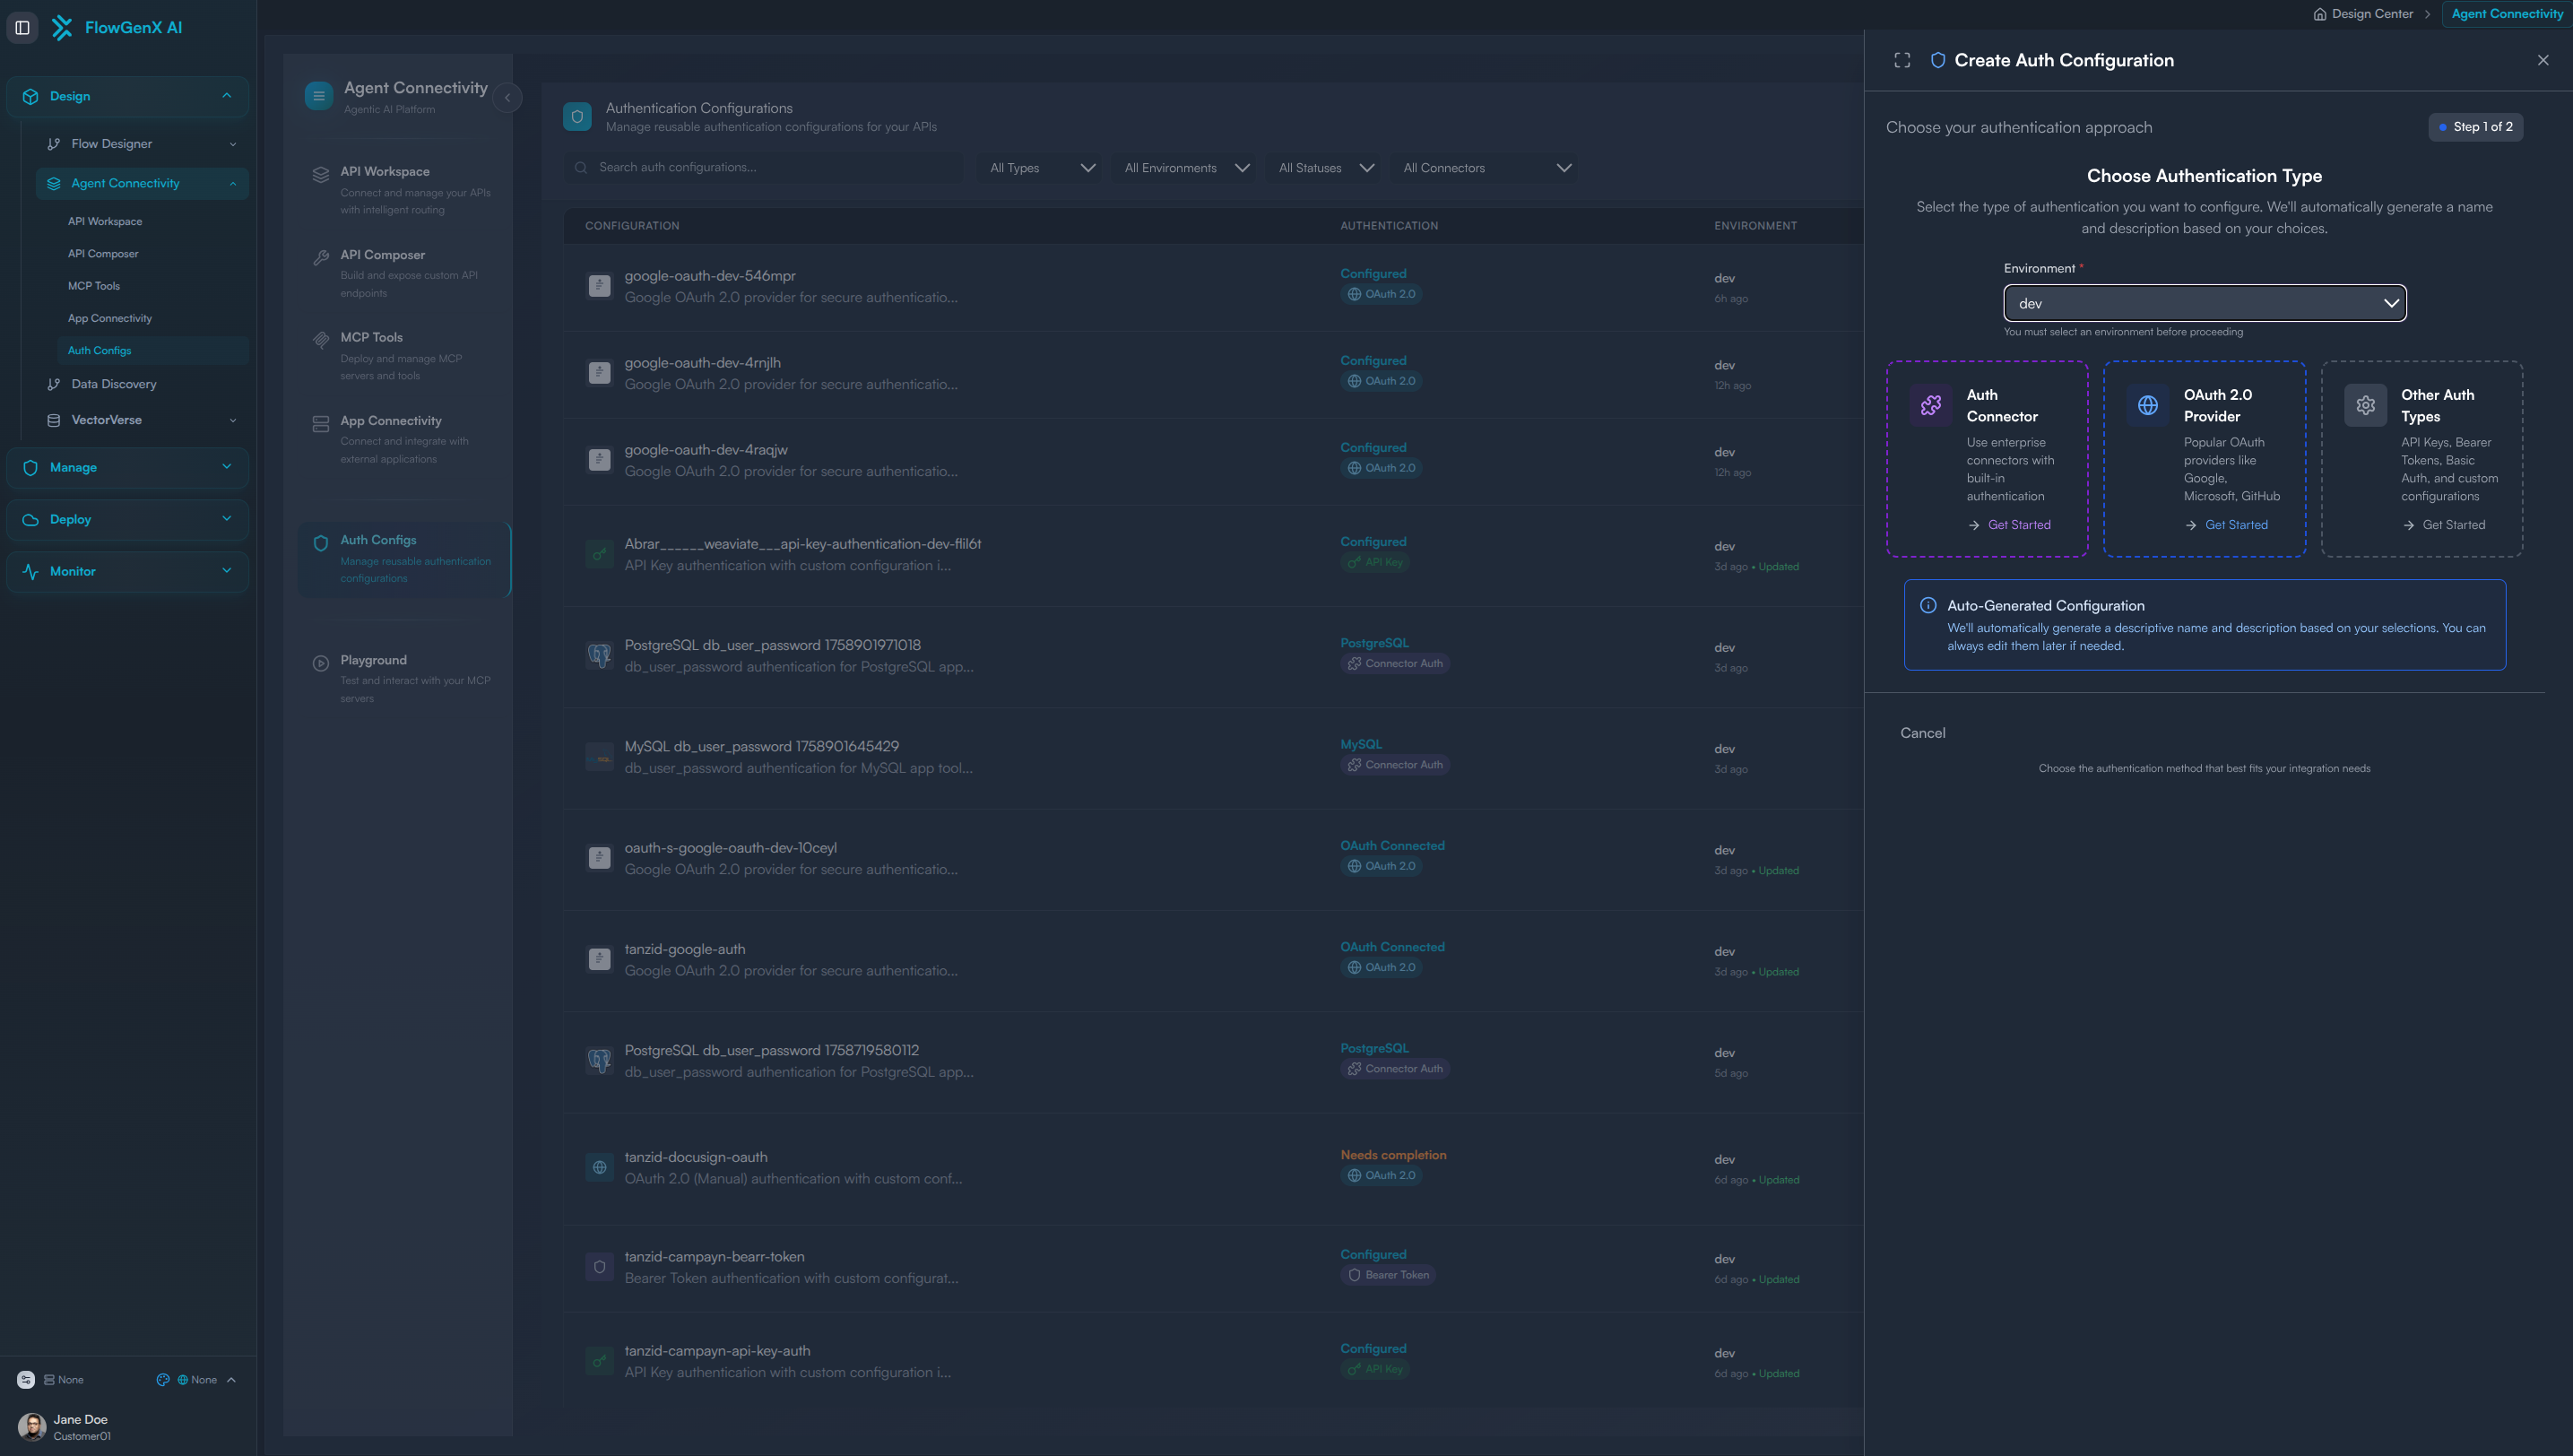
Other Auth Types
For services requiring alternative authentication methods:
- API Key: Simple key-based authentication
- Bearer Tokens: Token-based access control
- Basic Auth: Username/password authentication
- Custom Configuration: Advanced custom authentication setups
Configuring OAuth 2.0 Providers
Provider Selection and Filtering
When you select "OAuth 2.0 provider", you gain access to an extensive catalog of authentication providers:
Search and Discovery
- Search Bar: Quickly find specific providers by name
- Sorting Options:
- By Popularity (most commonly used providers first)
- Alphabetical (A-Z)
- Category-based organization
Filter Categories
- Enterprise: Business and enterprise applications
- Social: Social media and networking platforms
- Cloud Services: Cloud infrastructure and storage providers
- Others: Specialized and niche service providers
Provider Configuration
Once you've selected your desired provider:
-
Provider Name: Assign a unique, descriptive name for this configuration
- Use clear naming conventions (e.g., "Google-Sheets-Production", "Slack-Marketing-Team")
- Avoid generic names to prevent confusion in large organizations
-
Environment Confirmation: Verify the selected environment matches your intended use case
-
Description: Provide a detailed description of the connection's purpose
- What data will be accessed?
- Which team or workflow will use this connection?
- Any specific permissions or scopes required?
Finalizing Configuration
- Review all configuration details for accuracy
- Click the "Create Configuration" button
- A success dialog will confirm the connection has been created successfully
Managing Authentication Configurations
Post-Creation Management
After successful creation, your new authentication configuration appears in the Auth Configs list. Each configuration entry provides:
- Configuration Details: Name, provider, environment, and status
- Edit Options: Access configuration editing through the action menu on the right side of each row
- Status Indicators: Visual indicators showing connection health and last successful authentication
Configuration Editing
To modify an existing configuration:
- Locate your configuration in the Auth Configs list
- Click the Edit option in the row's action menu
- Update necessary fields (name, description, environment-specific settings)
- Save changes to update the configuration
Security Best Practices
Environment Separation
- Maintain separate configurations for development, staging, and production environments
- Never use production credentials in development environments
- Regularly audit and rotate authentication credentials
Access Control
- Implement principle of least privilege for authentication configurations
- Document who has access to each configuration and why
- Regular review access permissions and remove unused configurations
Credential Management
- Store all credentials securely within FlowGenX AI's encrypted storage
- Never expose credentials in workflow logs or debugging output
- Use environment-specific secrets management
Troubleshooting Common Issues
Configuration Creation Failures
- Invalid Credentials: Verify credentials are correct and have necessary permissions
- Network Connectivity: Ensure FlowGenX AI can reach the target service
- Rate Limiting: Check if you've exceeded API rate limits during setup
Authentication Errors
- Expired Tokens: Refresh or recreate OAuth tokens as needed
- Scope Permissions: Verify requested scopes match your application's needs
- Environment Mismatch: Ensure configuration environment matches workflow environment
Provider-Specific Issues
- Consult provider documentation for specific requirements
- Check for recent API changes or deprecations
- Verify callback URLs and redirect URIs are correctly configured
Next Steps
Once your authentication configurations are established:
- Test Connections: Verify connectivity using FlowGenX AI's built-in testing tools
- Create Workflows: Begin building workflows that leverage your new connections
- Monitor Usage: Track authentication usage and performance metrics
- Scale Integrations: Expand to additional providers and services as needed
For detailed information on using these connections in your workflows, see the Building Custom Tools with API Composer guide.
Support and Resources
- Provider Documentation: Each provider includes links to official API documentation
- Community Examples: Access pre-built configuration templates from the FlowGenX AI community
- Support Team: Contact FlowGenX AI support for complex authentication scenarios
- Security Team: Engage for enterprise security reviews and compliance requirements